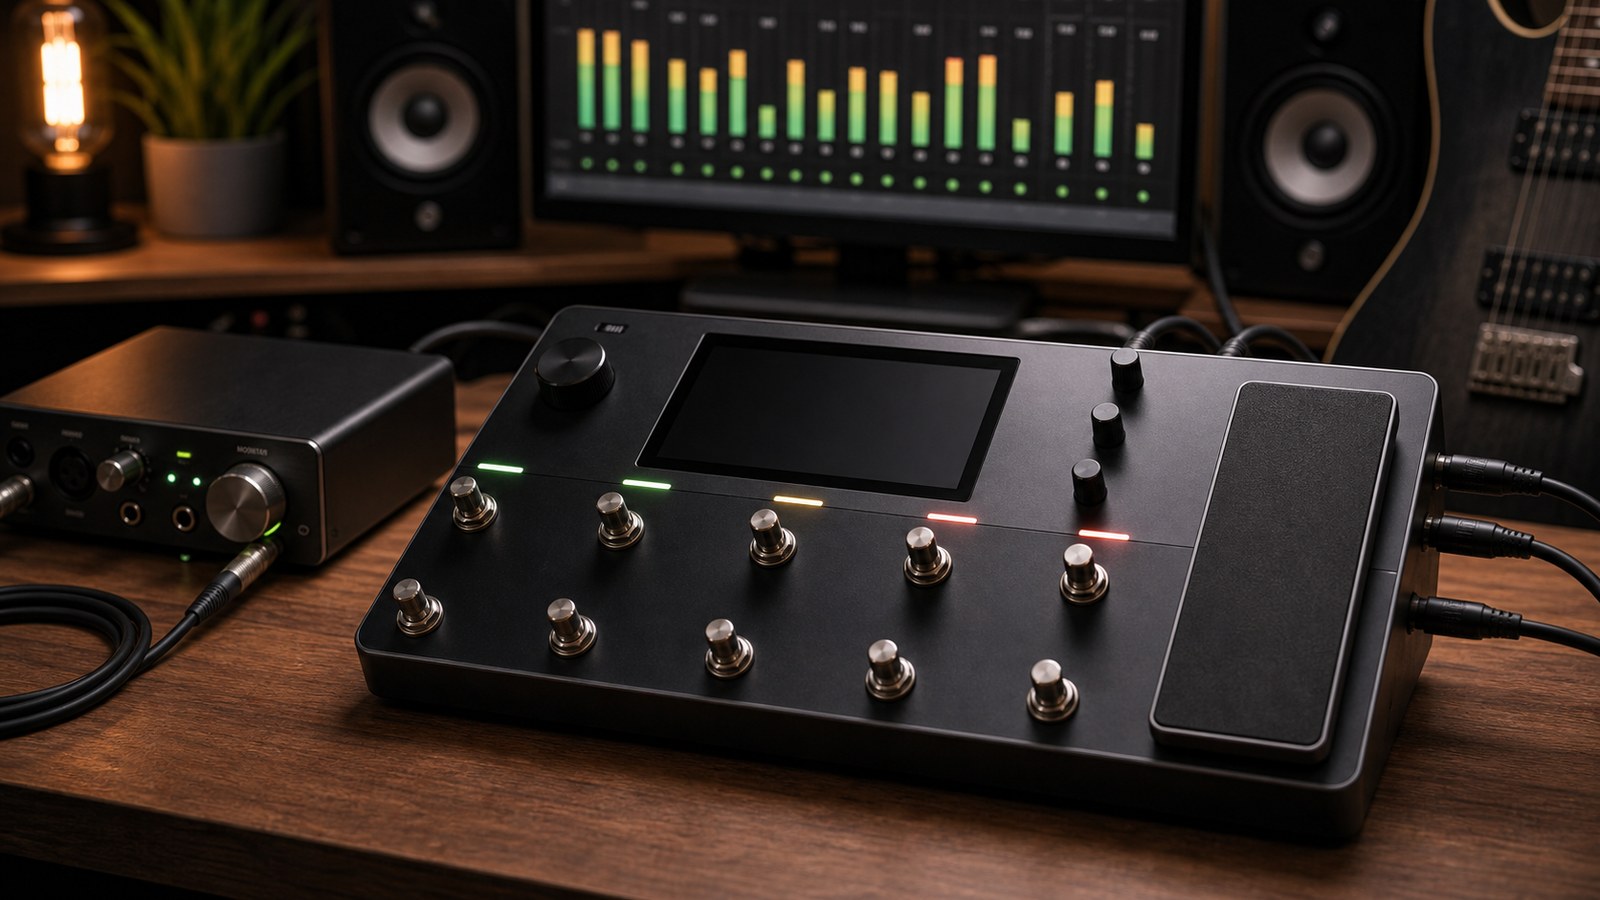
If your Quad Cortex tones sound thin, fizzy, or weirdly compressed, the answer is almost certainly gain staging. The unit’s processing has a huge dynamic range, but the way you feed signal through it determines whether you are working in the sweet spot or the corners. Here is how we approach gain staging across a preset.
What gain staging actually is
Gain staging is the discipline of making sure the signal at every block in your chain is at the right level for that block. Too quiet, and you lose dynamic range and pick up noise. Too loud, and you crush the block’s headroom and create harshness. The “right” level is usually: hot enough to be well above the noise floor, but not so hot that it distorts the input of the block.
On a Quad Cortex, you have multiple gain stages to manage:
- The instrument input gain on the unit
- The output level of every block in the preset
- The amp’s input sensitivity (the “input level” parameter inside the amp block)
- The amp’s master and channel volumes
- The cab block’s level
- The preset’s main output level
- The unit’s hardware output knob
Each of these has a defensible purpose, and each is a place where things can go wrong.
Stage one: input gain
The very first decision is the unit’s instrument input gain. Set it so that your hardest pick attack peaks around minus 6 dBFS on the input meter. This gives you headroom for accidents while keeping you well above the noise floor.
Your guitar’s output level matters. A vintage single-coil set will need a higher input gain than a modern set of EMGs. Do not assume the “right” setting carries between guitars.
If you switch guitars often, save input gain settings per guitar in your unit’s I/O presets so you do not have to rebalance every time.
Stage two: drives and pre-amp blocks
Drives and boosts in front of the amp are gain-staged by their level knob, not their drive knob. The drive knob controls how much distortion the pedal adds to the signal. The level knob controls how hot the output of the pedal is when feeding the next block.
A common mistake is dialling the drive knob high, the level knob low, and then wondering why the tone feels weak. The drive is adding distortion but not pushing the amp. Often the better answer is the opposite: drive low, level above unity. The pedal is now boosting the amp into a tighter, more aggressive response without adding obvious pedal-style distortion.
Stage three: amp block input
The Quad Cortex’s amp blocks have an input level parameter that is separate from any gain knob. This parameter controls how hot the amp model “sees” the incoming signal.
For most amp models, leave the input level at its default and let the upstream blocks (drives, EQs, captures) deliver the right amount of signal. If you find yourself reaching for the input level parameter, you usually have a problem upstream that you should fix instead.
Stage four: the amp’s gain and master
Inside the amp block:
- The gain (or drive) knob shapes how distorted the amp is, and crucially how it responds to picking dynamics. Less gain means more sensitivity to your hands.
- The master volume sets the output of the amp block.
These two interact. A high gain plus low master can sound similar to a moderate gain plus higher master, but the feel and dynamic response are different. The latter is almost always more musical.
For high-gain tones, our default starting point is gain at six or seven, master at five. For cleans, gain at three, master at five. Tweak from there.
Stage five: cab block level
The cab block’s level matters because IR loudness is not standardised. Some IRs are noticeably hotter than others. Audition multiple IRs, and if one IR is suddenly louder than the rest of your library, trim its level down to match.
A consistent level across your cab IRs is what makes preset switching feel smooth. If one preset is dramatically louder than the next, the audience hears that more than the tone difference.
Stage six: post-cab effects
Any EQ, compressor, modulation, or time effect after the cab should be set so its output is roughly equal to its input when the effect is bypassed. The Quad Cortex usually shows a clear “Mix” or “Level” parameter on each effect for this purpose.
If you turn an effect on and the perceived volume jumps, the effect is wrong. Adjust until bypassing and engaging produces the same loudness.
Stage seven: preset output
The preset’s main output is your tone’s overall loudness. The trick here is consistency across your library. Pick a target level, peaking around minus 12 to minus 6 dBFS at the unit’s output meter on hard playing, and use that target across every preset.
A library where every preset is at the same level is a library you can switch through during a song without surprising the audience.
Stage eight: hardware output
The unit’s hardware output knob is your last gain stage. Use it once, at the start of your session, to set a comfortable monitoring level. Do not use it to fix a preset that is too loud or too quiet. That fix should happen at the preset level, not at the hardware output.
A diagnostic flow
If a preset sounds wrong:
- Too thin or weak. Check whether the drive’s level knob is below unity. Check whether the amp’s master is too low. Check whether a post-cab EQ is cutting low end too aggressively.
- Too fizzy or harsh. Lower the amp’s gain. Check whether your input gain at the unit is clipping on hard hits. Audition a different cab IR.
- Too compressed and lifeless. Lower the amp’s gain. Reduce any compressor in the chain. Check whether two compressors are stacked unintentionally.
- Too noisy between notes. Set the input gate’s threshold higher. Check the amp’s gain is not absurdly high.
- Loud at home, quiet at the gig. Your monitoring path is different live versus at home. Build presets at the level you will use them, not at home headphone level.
A test that takes one minute
Solo a finished preset. Tap the unit’s hard bypass on and off rapidly. The bypassed signal should be the dry guitar. The engaged preset should be roughly the same perceived loudness. If the preset is dramatically louder, you have not gain-staged the chain. If it is dramatically quieter, same problem.
This single one-minute test catches more level problems than any meter.
In our next post we leave the studio and head to the stage. Live use of the Quad Cortex has its own set of small details that determine whether your set goes smoothly.
A Practical Guide to Quad Cortex Gain Staging