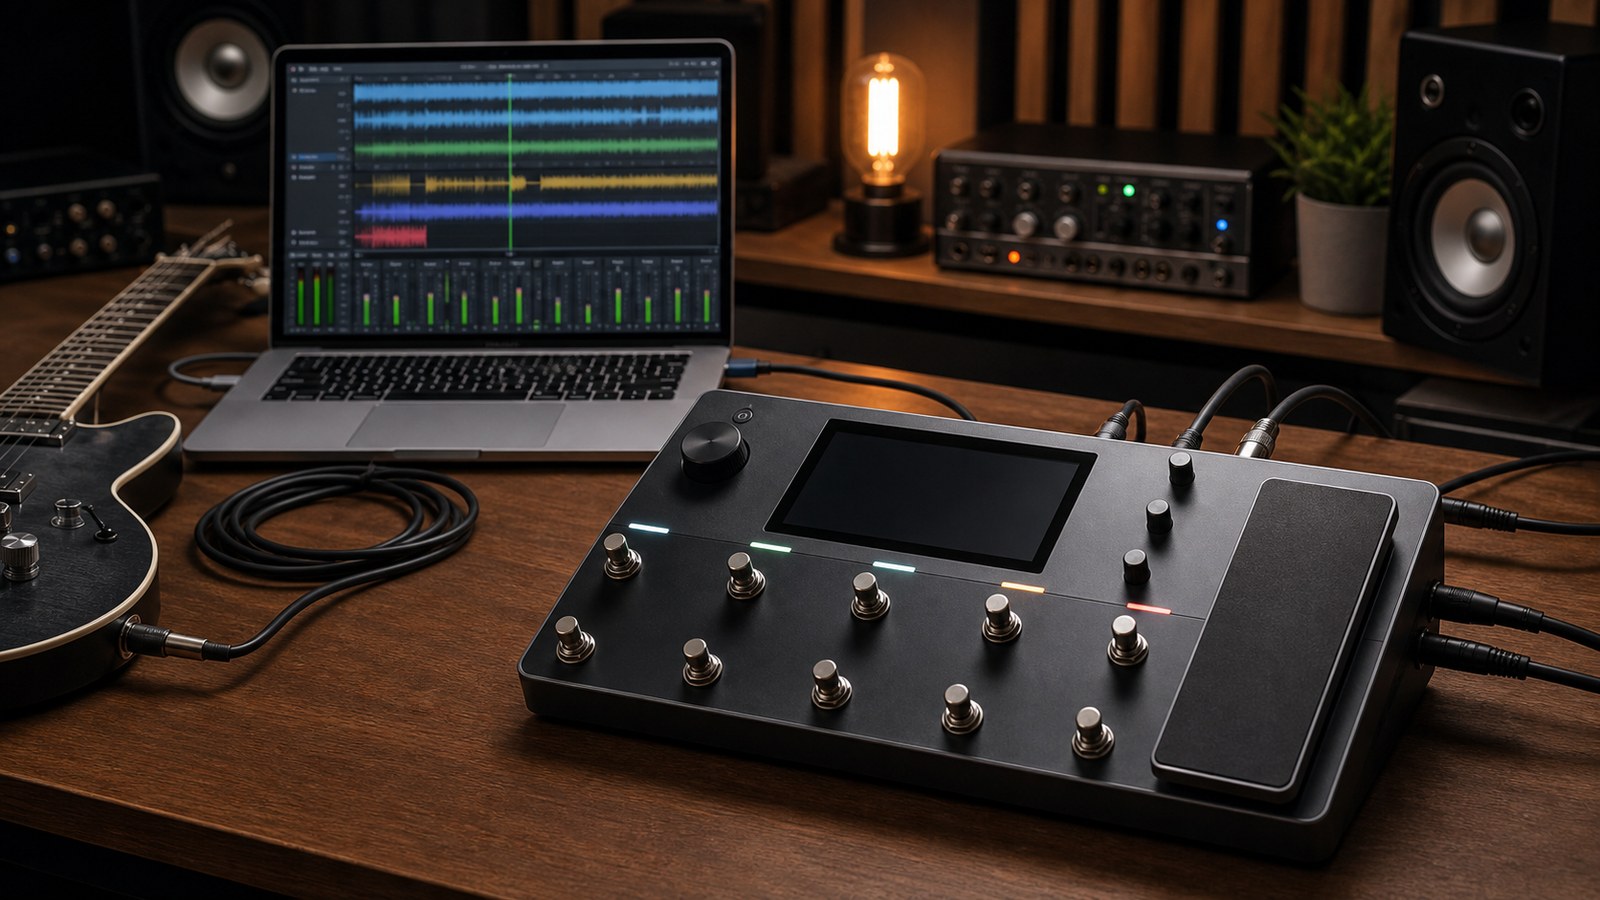
Recording the Quad Cortex direct is the fastest path to a usable guitar tone in any DAW. There is no microphone placement, no room treatment, no bleed from the drum kit two metres away. But the convenience hides a few traps. Here is how we set up the unit for tracking and the small details that lift takes from passable to pro.
Connection: pick one path and stick to it
There are three ways to get the Quad Cortex into your DAW. In ascending order of how often we use them:
- Analogue out into a separate audio interface. Works, but adds a conversion stage you do not need.
- S/PDIF out into an interface that has a digital input. Clean, but limits you to one stereo pair and locks your sample rate.
- USB direct into your computer. The Quad Cortex appears as an audio interface and gives you up to eight channels in and out. This is the path we recommend for almost every home setup.
If you only take one thing from this post, take this: use USB. The unit’s converters are excellent, and the dedicated channels for dry signal, wet signal, and re-amp output give you flexibility you cannot get the other two ways.
Sample rate and buffer
Set your DAW project to 48 kHz unless you have a strong reason to be at 44.1 kHz. The Quad Cortex’s internal processing is at 48 kHz, and matching avoids any sample-rate conversion artefacts.
Buffer size during tracking should be 64 or 128 samples. Lower if you can run it without crackling, higher if your computer is older. Tracking guitar at 512 samples is unpleasant. The latency is enough to make tight rhythm playing feel rubbery.
When you are mixing, push the buffer up to 512 or 1024 samples. The Quad Cortex’s processing is happening on the unit, not the computer, so a high buffer in your DAW does not affect your guitar latency.
Routing: dry plus wet, always
The single most useful trick when tracking the Quad Cortex is to record both the wet (processed) signal and the dry (DI) signal at the same time.
The dry signal is your insurance policy. If the producer wants a different amp tone in two weeks, you re-amp the dry signal through any rig you like. If your wet take is perfect except for the cab choice, you reload the preset, swap the cab, and re-amp.
Set up two tracks in your DAW:
- Track 1: Wet. This is the processed output of the preset, what you will print as the “real” guitar tone.
- Track 2: Dry. This is the direct signal from your guitar, recorded pre-processing, ready to be re-amped later.
The Quad Cortex routes both at once over USB without any extra effort. Take the few minutes to set up your inputs the first time, save the template, and never think about it again.
Gain staging from guitar to DAW
The chain is: guitar → input gain → preset → output → USB → DAW. Each stage has a level decision.
Input gain. Set the unit’s input gain so that your hardest hit hits around minus 6 dBFS on the input meter. Quieter than that and you are wasting headroom. Louder than that and you might clip the input on a particularly aggressive pick attack.
Preset output level. The preset’s master output should bring the wet signal to around minus 12 to minus 6 dBFS in your DAW. Modern mixers prefer headroom. Avoid sending hot signals to your DAW. There is no benefit to it and only the risk of clipping somewhere downstream.
DAW track input. Leave it at unity. Adjust gain at the unit, not in the DAW.
If your wet track is consistently quiet across the song, fix it at the preset level by raising the preset’s output. Do not raise the DAW track gain to compensate. That just amplifies any noise floor.
Monitoring without latency
Monitor through the Quad Cortex’s headphone out, not through your DAW. The unit’s monitoring is zero-latency because the signal is processed on the unit before it ever reaches your computer.
Most DAWs have a “software monitoring” or “input monitoring” toggle on each track. Turn it off for the wet and dry guitar tracks while you are recording. You want to hear the unit, not your DAW’s monitoring path. Turn it back on for any other instrument that needs DAW-side monitoring.
Reverb and delay: print or print dry
This is a taste call, but the prevailing wisdom is to print the guitar tone with cab and EQ in place, but with reverb and delay either off or very subtle. Time-based effects are easier to dial in once the guitar is sitting in the mix with drums and bass. Printing them too heavily commits you early.
Most of our presets have a “track” version with reverb and delay backed off, alongside the full version for live use. If you are buying packs from us, look for that distinction.
File formats and naming
Record at 24-bit. Always. The 32-bit float option in some DAWs is fine but offers no audible benefit at the levels you are working at.
Name your tracks before you start. “Audio 7.wav” is the file you will hate yourself for in three months. “Rhythm L V1 Take 3” is the one you can find again.
A pre-flight checklist
Before every tracking session:
- Buffer size at 64 or 128 samples
- Sample rate matches the unit (48 kHz)
- Two tracks armed: Wet and Dry, with input monitoring off
- Input meter peaking around minus 6 dBFS on the hardest hits
- Preset output landing in your DAW around minus 12 to minus 6 dBFS
- Monitoring through the unit’s headphone out
- Tracks named, not “Audio 1”
The first time it takes ten minutes. After you save the template, it takes ten seconds.
In our next post we leave the studio and start dialling in actual tones, beginning with one of the most-asked-for genres: modern metal.
Best Quad Cortex Settings for Direct Recording